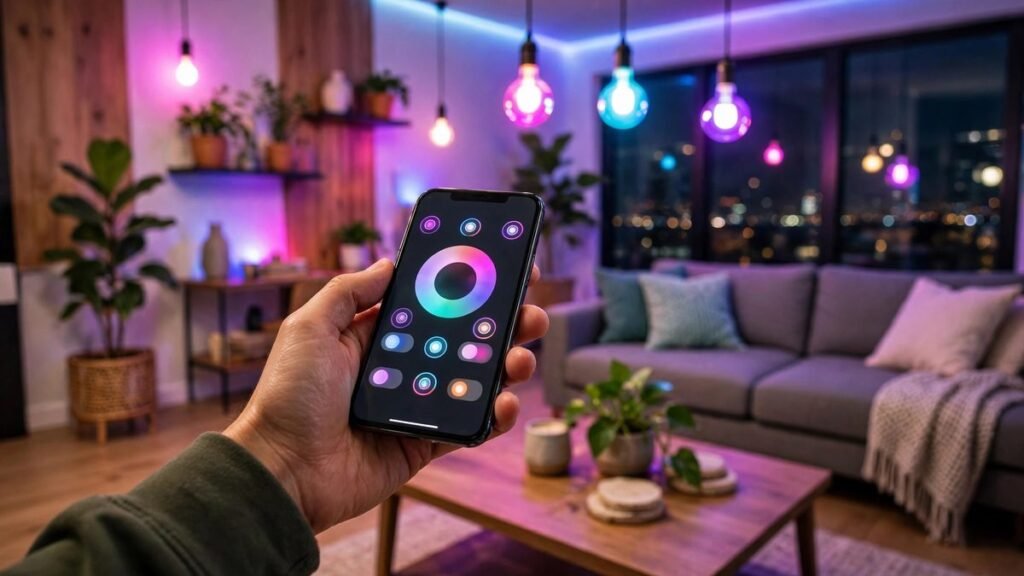
A beginner smart home does not need to be complicated or expensive. The smartest approach is to start with a few devices that work together, learn how they fit your daily routine, and expand only when you see real value. This step-by-step guide explains how to start with five devices in the USA, how to choose a voice assistant, how to improve your router and Wi-Fi, how to protect your privacy, and how budget tiers of $50, $100 and $200 can shape your plan.
Step 1: Choose your voice assistant first
Your voice assistant is the control center for most beginner setups. Decide between Amazon Alexa, Google Assistant and Apple HomeKit based on the phones and speakers you already use. Alexa has wide support among budget plugs and bulbs. Google Assistant fits well if you use Android phones, Google TV or other Google services. Apple HomeKit is strongest for iPhone, iPad and Apple Watch households, but compatible accessories can cost more. Pick one primary assistant for now; you can add cross-platform Matter devices later as you learn.
Step 2: Fix your Wi-Fi before you buy more devices
Most smart home frustration is really Wi-Fi frustration. Place your router in a central location, off the floor and away from metal cabinets if possible. Test the signal in the rooms where you plan to add devices, especially the front door, garage and backyard. Most budget smart devices use 2.4 GHz Wi-Fi, which reaches farther through walls than 5 GHz. If a device keeps disconnecting, move the router, add an extender, or choose a device that is closer to the access point. Give your smart home network a clear name and use a strong password.
The 5 starter devices
1. A smart speaker or display
Start with a small smart speaker in the kitchen or living room, typically about $25 to $50 on sale. It gives you voice control, timers, weather and simple questions. Place it where you will actually talk to it, and review its microphone and privacy settings during setup.
2. A smart plug
Add one smart plug, typically about $8 to $20, for a lamp, fan or holiday lights. It teaches you schedules and remote control without any wiring. Check the wattage rating and avoid high-draw appliances unless the plug is rated for them.
3. A smart bulb
A smart bulb, typically about $10 to $25, adds dimming and schedules to a room. Choose a warm white range for living spaces and confirm the bulb base fits your lamp or fixture. Group it with the plug in the same room in your app so one command controls both.
4. A door or window sensor
A contact sensor, typically about $10 to $30, alerts you when a door or window opens. It may need a hub or a compatible speaker, so check that requirement. Stick it on the front door or a ground-floor window first, then add more only where they matter.
5. A smart sensor for leaks or motion
Your fifth device can be a leak sensor under a sink or near a water heater, or a motion sensor for a hallway. Leak sensors, often about $12 to $30, can warn you early about a problem that could cause expensive damage. Motion sensors are useful for lights in a hallway, but place them where they will not trigger constantly from pets or passing traffic outside a window.
Budget tiers: $50, $100 and $200
The $50 starter tier
With about $50 in USD, buy a smart speaker on sale plus one smart plug, or a smart bulb two-pack plus a plug. This tier is about learning voice control and schedules. Skip the doorbell and hub-heavy sensors until you know you will use the system.
The $100 starter tier
With about $100, add a second bulb or plug, a door sensor and a leak or motion sensor. You can create a simple evening routine, such as turning off lamps and checking that the front door is closed. Still avoid buying many devices at once; add one, test it for a week, then add the next.
The $200 starter tier
With about $200, you can consider a video doorbell, a hub if your sensors need one, and a few more bulbs or plugs. Before buying a doorbell, confirm power, mounting and Wi-Fi at the door, and compare any subscription cost for video storage. At this tier, compatibility matters more than price, so prioritize devices that work with your chosen assistant or Matter where available.
Setup tips for apartments and houses
Renters should favor plugs, bulbs, speakers and stick-on sensors because they move with you. Homeowners can later consider smart switches or hardwired devices, but those may need an electrician if you are not comfortable with wiring. In both cases, name devices clearly, group them by room, and create one or two simple routines rather than ten complicated automations. Test routines when you are home before relying on them when you are away.
Privacy tips
Smart home convenience should not come at the cost of privacy. Use a unique password for your smart home account and turn on two-factor authentication when available. Review which devices can record audio or video, where recordings are stored, and who in your household can access them. Place cameras only in areas where people would reasonably expect them, and tell guests if a device records. Keep firmware updated, remove old devices you no longer use, and check app permissions periodically.
Pros and cons of starting small
- Pros: lower cost, fewer compatibility problems, easier troubleshooting, and you learn what you actually use.
- Cons: you may need to buy a hub later, and some advanced automations will wait until you expand.
Frequently asked questions
What is the first smart home device I should buy?
Start with a smart speaker or a smart plug, depending on whether you want voice control or simple remote control first. Both are inexpensive and easy to learn.
Do I need a hub for a beginner smart home?
Not always. Many Wi-Fi devices work without a hub, but some sensors and lights need a hub or a compatible speaker. Check requirements before buying sensors.
Is $100 enough for a beginner smart home?
Yes. A $100 budget in USD can cover a speaker, a plug, a bulb and a sensor, which is enough to learn routines and decide what to add next.
How do I keep my smart home private?
Use strong passwords, two-factor authentication, updated firmware and careful camera placement. Review privacy settings for each device and remove access for old devices.
Conclusion
A beginner smart home in the USA should start simple: choose one voice assistant, make sure your Wi-Fi reaches the devices, and add five practical devices one at a time. A speaker, a plug, a bulb, a door sensor and a leak or motion sensor cover comfort, control and basic awareness. Whether your budget is $50, $100 or $200 in USD, start small, test each device, protect your privacy, and expand only when a new gadget solves a real problem. That is how a smart home becomes genuinely helpful instead of just complicated.
🛒 Shop This Guide – Buy on Amazon
Affiliate Disclosure: Trend Trolley is a participant in the Amazon Services LLC Associates Program. If you buy through a link on this page, we may earn a small commission at no extra cost to you. Prices and availability change often, so please check the current price on Amazon before you buy.

Echo Dot (5th Gen) – Buy on Amazon
Kasa Smart Plug HS103 (2-Pack) – Buy on Amazon
As an Amazon Associate, Trend Trolley earns from qualifying purchases.